
Few household upgrades are as impactful as a water heater installation. Whether you’re replacing an aging unit or installing a brand-new system, the process demands a balance of precision, safety, and smart planning. The right water heater can make your daily routines—showers, dishwashing, laundry—more efficient and cost-effective.
In this comprehensive guide, you’ll learn how to choose, install, and maintain your water heater like a pro. From gas and electric models to tankless systems, we’ll explore every essential step to ensure your installation is seamless and your home stays warm and energy-efficient.
Understanding Water Heater Installation
Before grabbing your toolbox, it’s vital to understand what a water heater installation involves. The process requires careful consideration of your home’s layout, fuel type, water demand, and energy efficiency preferences. Proper installation not only ensures reliable hot water but also prevents safety hazards and reduces long-term maintenance costs.
A successful installation typically includes:
-
Selecting the right water heater size and type
-
Ensuring proper ventilation (for gas models)
-
Making secure water and electrical connections
-
Conducting safety and leak tests
Even if you hire a professional plumber, understanding these steps helps you make informed decisions and avoid overpaying for unnecessary work.
Types of Water Heaters to Consider
Choosing the right unit is the foundation of an efficient water heater installation. Here are the most common types and what makes each unique:
Tank Water Heaters
Traditional water heaters store and heat large quantities of water (30–80 gallons). They’re affordable and reliable, though slightly less energy-efficient.
Best for: Families with consistent, high hot-water usage.
Lifespan: Around 8–12 years.
Tankless Water Heaters
Tankless or “on-demand” units heat water only when needed. They take up less space and offer long-term energy savings.
Best for: Smaller households or those seeking energy efficiency.
Lifespan: 15–20 years.
Heat Pump Water Heaters
These use electricity to move heat from the air or ground into the water. Though pricier upfront, they use up to 60% less energy.
Best for: Eco-conscious homeowners in moderate climates.
Solar Water Heaters
Powered by solar panels, these reduce energy bills and environmental impact. However, they require adequate sunlight and a backup energy source.
Best for: Homes in sunny regions with green-energy goals.
Condensing Water Heaters
Ideal for gas-heated homes, these capture and reuse heat from exhaust gases. They’re efficient but slightly more complex to install.
Best for: Large households with existing gas lines.
Pre-Installation Preparations
Before you begin water heater installation, proper preparation saves time and reduces risks.
-
Turn Off Utilities
-
For electric heaters: switch off the circuit breaker.
-
For gas heaters: shut off the gas supply.
-
-
Drain the Old Unit
-
Connect a garden hose to the drain valve and empty the tank completely.
-
-
Disconnect Water and Energy Lines
-
Carefully remove old pipes, fittings, and electrical connections.
-
-
Measure Your Space
-
Make sure the new heater fits comfortably in the designated area, allowing space for ventilation and maintenance.
-
-
Check Building Codes
-
Review local regulations to ensure your setup meets safety and efficiency standards.
-
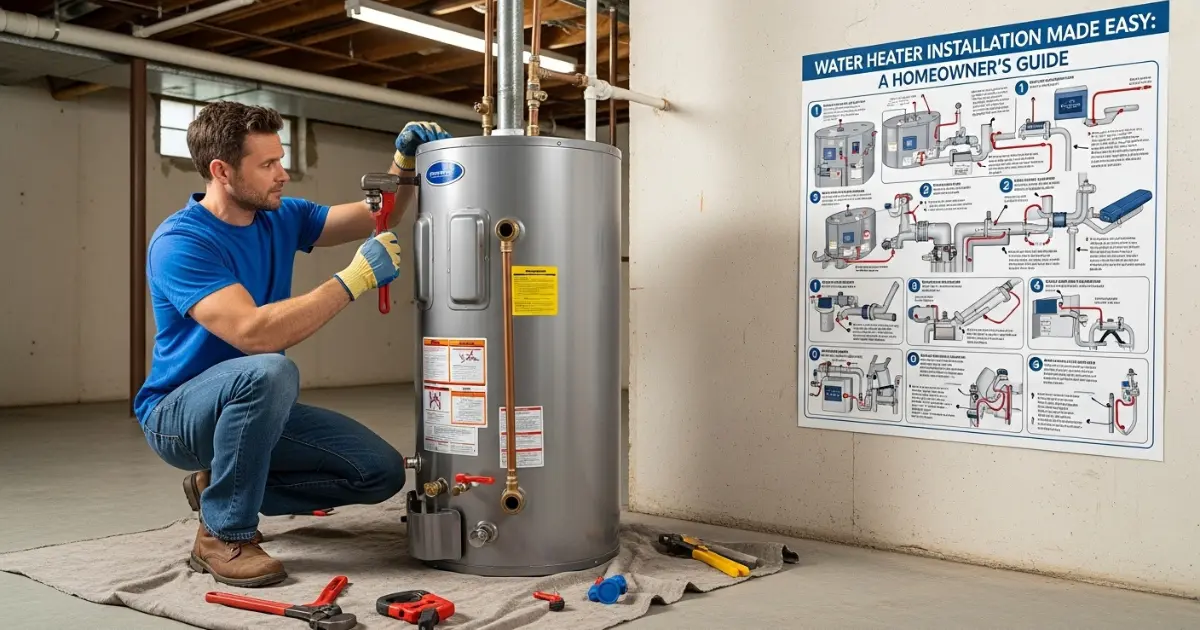
Step-by-Step Water Heater Installation Process
Here’s a simplified overview of the water heater installation process most professionals follow:
Step 1: Position the New Unit
Place the heater on a solid, level surface. Keep a clearance of at least two inches around it for ventilation and access.
Step 2: Connect Water Lines
Attach the cold-water supply line and hot-water outlet using flexible copper or braided stainless steel connectors. Always use Teflon tape or pipe compound to prevent leaks.
Step 3: Connect the Energy Source
-
Gas models: Connect the gas line securely using the appropriate fittings and test for leaks using soapy water.
-
Electric models: Match the wire connections (typically black to black, white to white, and ground to green or bare copper).
Step 4: Install the Venting System (Gas Units Only)
Proper venting prevents carbon monoxide buildup. Follow manufacturer instructions closely, and ensure the vent pipe leads outdoors safely.
Step 5: Fill and Test
Open the cold-water valve to fill the tank. Once full, turn on a hot-water faucet to release air pockets. Finally, restore the power or gas and test the water temperature and pressure.
Common Mistakes in Water Heater Installation
Even experienced homeowners can make errors during water heater installation. Avoid these pitfalls:
-
Ignoring local codes: Skipping permits or code requirements can result in fines and safety issues.
-
Improper venting: Especially dangerous for gas models; improper venting may lead to carbon monoxide leaks.
-
Loose connections: Poorly sealed joints can cause leaks or electrical hazards.
-
Incorrect temperature setting: Set between 120°F–125°F to prevent scalding and conserve energy.
-
Skipping the pressure relief valve: This vital component prevents the tank from over-pressurizing and bursting.
When to Call a Professional
While many DIY enthusiasts can handle basic water heater installation, some tasks require a licensed plumber or electrician—especially when dealing with gas lines or electrical wiring. Professional installation ensures code compliance, safety, and warranty validity.
Hire an expert if you notice:
-
Gas odors or leaks
-
Electrical issues or tripped breakers
-
Poor water flow or inconsistent heating
-
Strange noises or pressure problems
A certified installer can also recommend system upgrades that improve efficiency, such as expansion tanks, insulation, or smart controls.
Post-Installation Tips for Longevity
Proper maintenance after water heater installation extends the unit’s life and ensures efficiency.
-
Flush the tank annually: This removes sediment buildup and prevents corrosion.
-
Inspect the anode rod: Replace it every 3–5 years to protect the tank from rust.
-
Check temperature settings regularly: Maintain optimal levels for safety and efficiency.
-
Insulate pipes and tank: Reduces heat loss and saves energy, especially in colder climates.
-
Monitor leaks: Catch small issues early to prevent major damage.
Regular care not only saves money but also keeps your warranty valid and your home safe.
Troubleshooting Common Issues
Even after a successful water heater installation, minor problems can occur. Here’s how to handle them:
-
No hot water: Check the circuit breaker, thermostat, or pilot light.
-
Leaking water: Tighten connections or replace worn gaskets.
-
Discolored water: Flush the tank to remove sediment buildup.
-
Strange noises: A rumbling sound often indicates sediment accumulation.
-
Low pressure: Inspect inlet valves and filters for blockages.
If problems persist, it’s best to consult a professional rather than risk damage or injury.
Safety First: Installation Precautions
Safety is paramount during water heater installation. Always:
-
Turn off electricity and gas before starting.
-
Use protective gloves and eyewear.
-
Ensure proper ventilation for gas units.
-
Keep flammable materials away from the heater.
-
Test for leaks before powering on.
Ignoring safety procedures can result in serious injury or property damage, so take precautions seriously.
Conclusion
A successful water heater installation can transform your home comfort while saving money and energy. Whether you choose to install it yourself or hire a professional, understanding the process empowers you to make smart choices.
From choosing the right unit and preparing your space to handling connections and maintenance, each step contributes to your heater’s performance and lifespan. Remember, efficiency doesn’t stop at installation—it’s a commitment to regular care and smart energy use.